
Quilting for Beginners: Your Fun + Friendly Guide
Hello, my quilty friends!
So you wanna make a quilt. Like—a real one. Not just pin pretty ones on Pinterest and dream about someday, but actually pick up the fabric, plug in the iron, and make a quilt of your very own.
First of all: YES. Let’s do this. Second of all: I made a tutorial just for you.

My free Chain Pieced Patchwork Quilt Tutorial is my go-to beginner project. It’s approachable, it’s simple, and it’s secretly kind of genius because the chain piecing method saves you so much time and keeps things organized.
(Trust me, your future quilter self will thank you.)
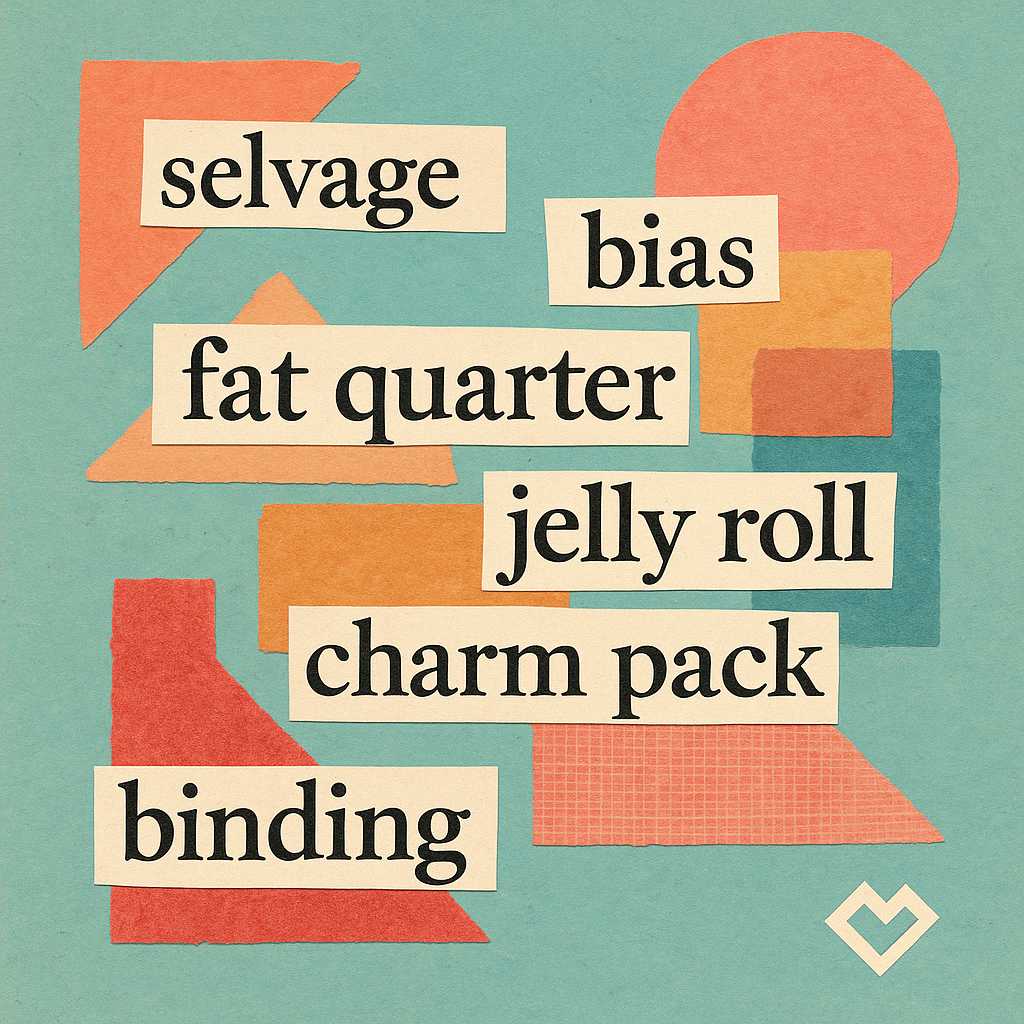
If you're feeling like you need a bit more of a quilty foundation first, you might want to hop over to How to Quilt: A Super‑Simple Starter Guide and Quilting Terminology to get cozy with the basics.
But if you're ready to dive in—let’s go!
Step 1: Cut Your Squares
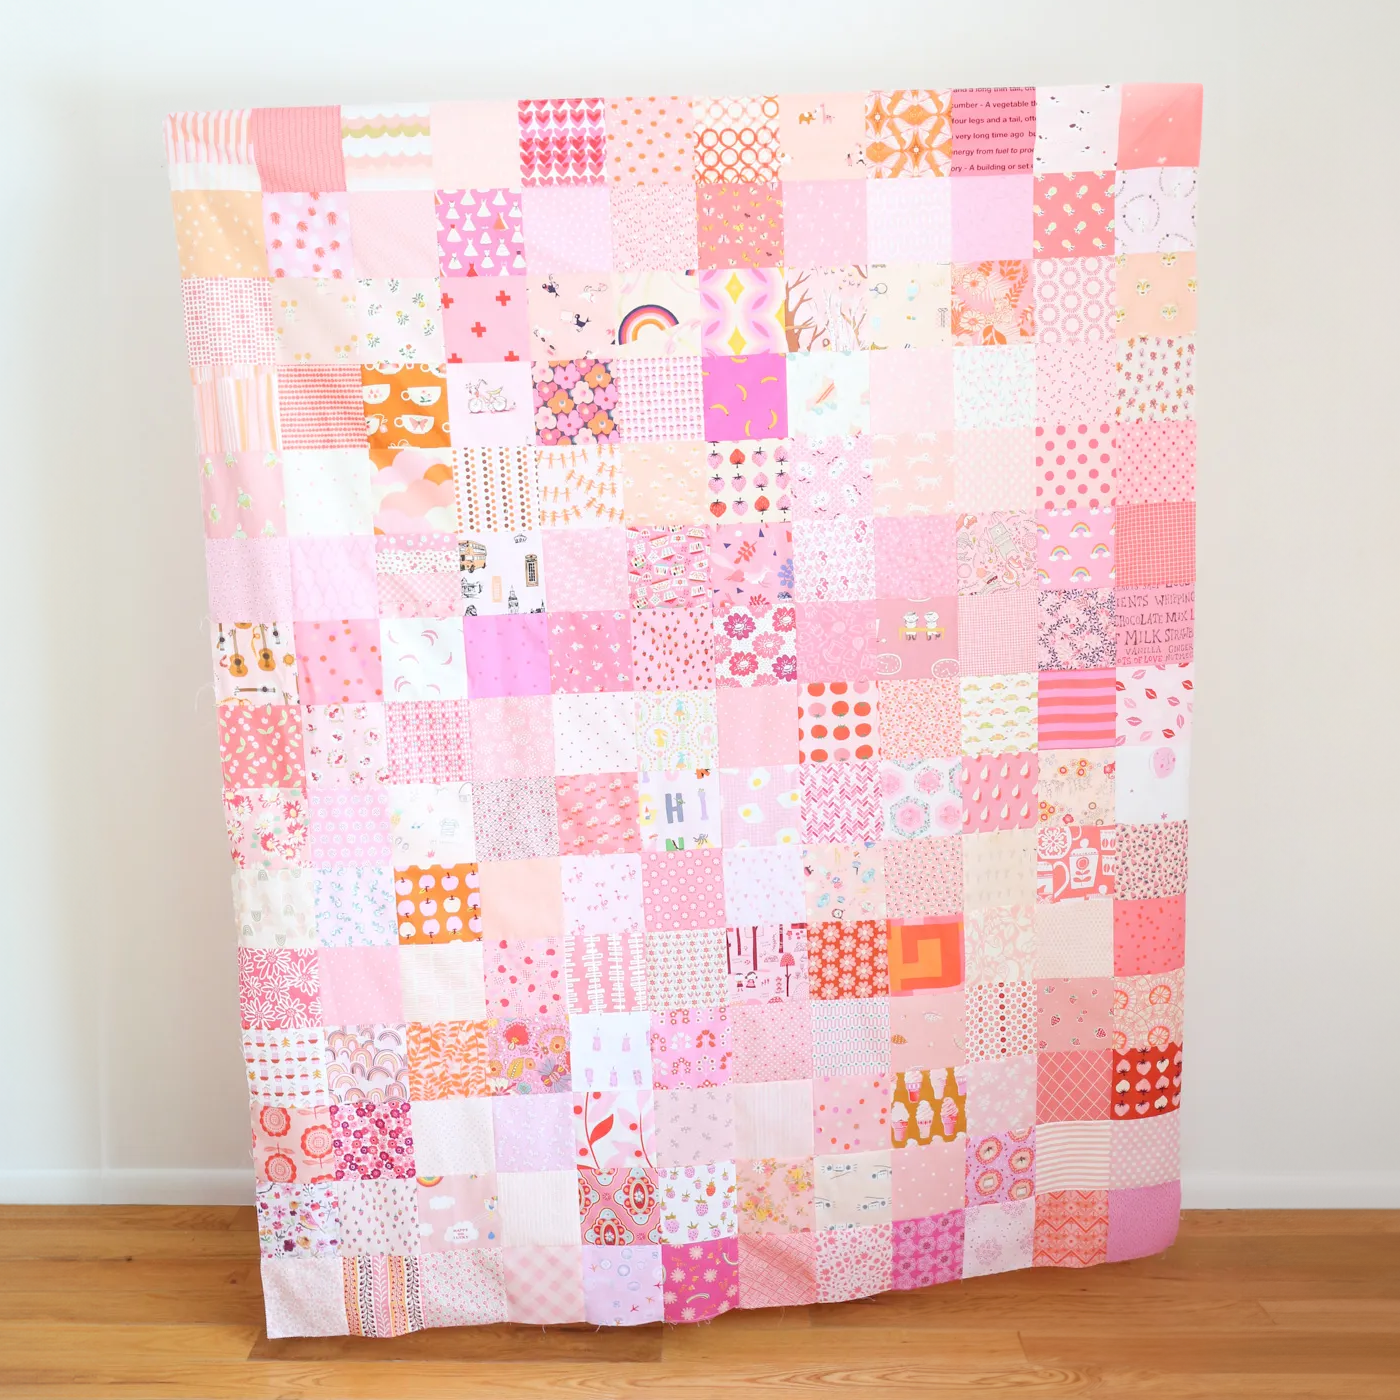
You’ll need 180 squares, each measuring 5" x 5". That’ll give you a finished quilt top that’s roughly 54" x 67.5"—perfect for snuggling on the couch or gifting to a lucky friend.
You’ve got a few fabric options here:
- Precut charm packs (each one usually has 42 squares)
- Cut from yardage
- Cut from fat quarters (my personal fave)
How many fat quarters do you need?
Each fat quarter (which measures approx. 18" x 21") can yield twelve 5" squares. So:
180 squares ÷ 12 per fat quarter = 15 fat quarters
That means you’ll need 15 fat quarters total. If you need a little help picking fabrics that play nice together, check out our fabric bundles—they’re pre-curated and cuteness-approved.
And if you're feeling overwhelmed by fabric options, Fabric for Quilting is your friendly guide to understanding what works, what doesn’t, and what to buy without breaking the bank.
Step 2: Arrange + Section
Lay out your squares on a design wall, the floor, or anywhere the cat won’t claim them as a bed.

Make 15 rows with 12 squares in each. Once you’re happy with your layout, mentally divide it into six sections (each one is 6 squares wide and 5 squares tall).

I know that sounds a little mathy, but it makes the sewing part way less chaotic later. Pinky promise.
If you’re curious how big this quilt really is compared to, say, a twin or a queen, check out my Quilt Sizes Chart—super handy when planning future projects!
Step 3: Pin + Stack Like a Pro
This is where the magic of staying organized begins.

Use labeled pins to mark the first square of each row—like “1” for Row 1, “2” for Row 2, and so on. Then, for the second half of each row (square 7 onward), mark it with “1A,” “2A,” etc., so you’ll know when you’ve crossed into a new section.

Stack each row carefully, keeping square 1 on top and square 12 on the bottom. You’ll end up with 15 neat little stacks.
Go ahead and admire them. You’ve earned it.
Step 4: Chain Piece Like a Quilting Wizard
Now for the fun part!
Start with the first five rows and sew the first two squares from each row right sides together (RST). But here’s the trick: don’t cut the thread in between! Just feed each set into your machine one after the other. That’s chain piecing—it keeps everything in order and speeds things up.

Next, sew the third square to each row’s chain. Then the fourth, then the fifth, until all six squares are sewn together. Your rows will look like a funky fabric accordion—but they’re all still connected and perfectly organized.
Rinse and repeat for each section. It’s kind of mesmerizing once you get going.

If you’re not sure your machine is up for the job (or if you’re in the market for one), I rounded up some of my fave beginner-friendly picks in The Best Sewing Machine for Quilting. Spoiler: You don’t need to spend a fortune.
Step 5: Press Those Seams
Pressing is quilting’s secret sauce. It makes everything lay flat and helps your corners line up like a dream.

Here’s my method: press odd rows to the left and even rows to the right. That way, the seams will nest nicely when you sew the rows together.

And yes, we’re pressing—not ironing. Up and down, not back and forth. Quilting is not cardio.
Step 6: Sew the Rows
With your seams pressed and your rows ready, start sewing them together one by one. Match up those nested seams and take your time. You’re officially in quilt-top-building mode!

Once you’ve sewn all the rows in a section together, press the row seams up in the left half of the section, and down in the right half. Again, this helps your seams nest when you join the sections.
Step 7: Assemble Your Sections
Now it’s time to put the whole puzzle together!
Sew the left and right parts of the top section together, then do the same for the middle and bottom. Press the seams in alternating directions: top section seams to the right, middle section seams to the left, and bottom section seams to the right again.

Then, sew your three big sections together and—ta-da!—you have a full quilt top!

Bonus tip: I always sew a little ⅛" seam around the outside of the finished quilt top to keep those seams from popping open. Just a nice little safety stitch to keep things tidy.
You Did It!
You just made a quilt top. Like, a real one. With fabric and a plan and that feeling in your chest that says, “Whoa—I made this.”
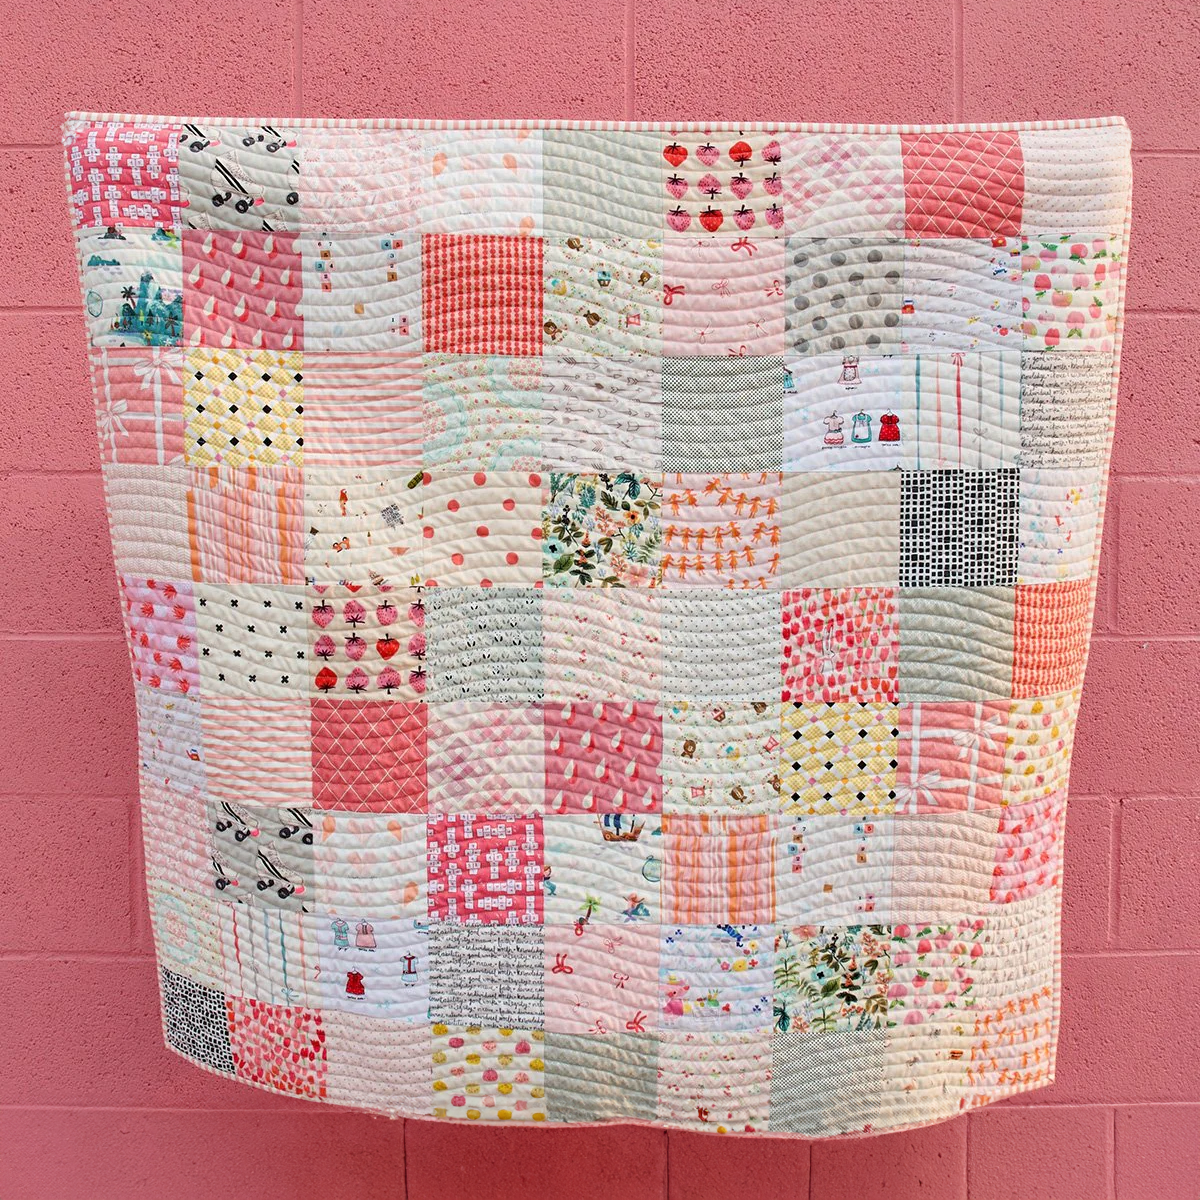
From here, you can add backing, batting, quilting, and binding—but honestly? The hardest part is over. You pieced an entire quilt top, and that is huge.
Whether you started with charm packs or went full fat-quarter-fabulous, whether your seams lined up or took a little creative persuasion—you made something wonderful.
And now you’ve got the skills to do it again. And again. And again. (Ask me how I know. 😉)
Happy making,
🩵 Holly
P.S. If you make this quilt, tag me on Instagram (@makervalley) or send me a pic—I’ll be over here crying happy quilty tears. 😂
Leave a comment
This site is protected by hCaptcha and the hCaptcha Privacy Policy and Terms of Service apply.